2-3 Adding a Simple Program by Editing Yocto Layers and Recipe
In this tutorial, we will add a simple Hello World program into the Yocto Project as part of the Linux image. Then, we will execute the program on our target board Renesas RZ/G2L.
Step 1: Create a New Layer
In the directory workspaces/rzg/yocto, create a new layer named meta-test by running:
bitbake-layers create-layer meta-test
A folder named meta-test will be created. The structure of the folder are as follows:
.
├── conf
│   └── layer.conf
├── COPYING.MIT
├── README
└── recipes-example
    └── example
        └── example_0.1.bb
Step 2: Add Your Own Program
To add your own program, create a folder named according to your preference in ~/meta-test/recipes-example. In this case, we will name our folder hello and add a simple Hello World program.
hello
├── files
│   └── hello.c
└── hello.bb
In the hello folder, create these files according to the file structure above.
# include <stdio.h>

int main(void) {
   printf("Hello, World!\n");
   return 0;
}
DESCRIPTION = "Simple Hello World application"

LICENSE = "MIT"

LIC_FILES_CHKSUM = "file://${COREBASE}/meta/COPYING.MIT;md5=3da9cfbcb788c80a0384361b4de20420"

SRC_URI = "file://hello.c"

S = "${WORKDIR}/build"

do_compile() {
    ${CC} ${CFLAGS} ${LDFLAGS} ${WORKDIR}/hello.c -o ${S}/hello
}

do_install() {
    install -d ${D}${bindir}
    install -m 0755 ${S}/hello ${D}${bindir}/
}
Step 3: Edit bblayers.conf and local.conf Files
Add the meta-test folder under BBLAYERS ?=:
BBLAYERS ?= " \
  ${TOPDIR}/../meta-gplv2 \
  ...
  ${TOPDIR}/../meta-test \
  ...
Next, add the name of the recipe to local.conf by adding the line below:
IMAGE_INSTALL:append = " hello "
Step 4: Rebuild Image
Now, we can rebuild the image with our own program added to the build.
First, initialize the build in the /workspaces/rzg/yocto directory.
source poky/oe-init-build-env build
Run the following command to start building the image.
MACHINE=smarc-rzg2l bitbake core-image-qt
If you have previously built the qt image, the process usually only takes a few minutes to finish. This is because the cached files are reused and only our program needs to be compiled from scratch.
Step 5: Testing the Program
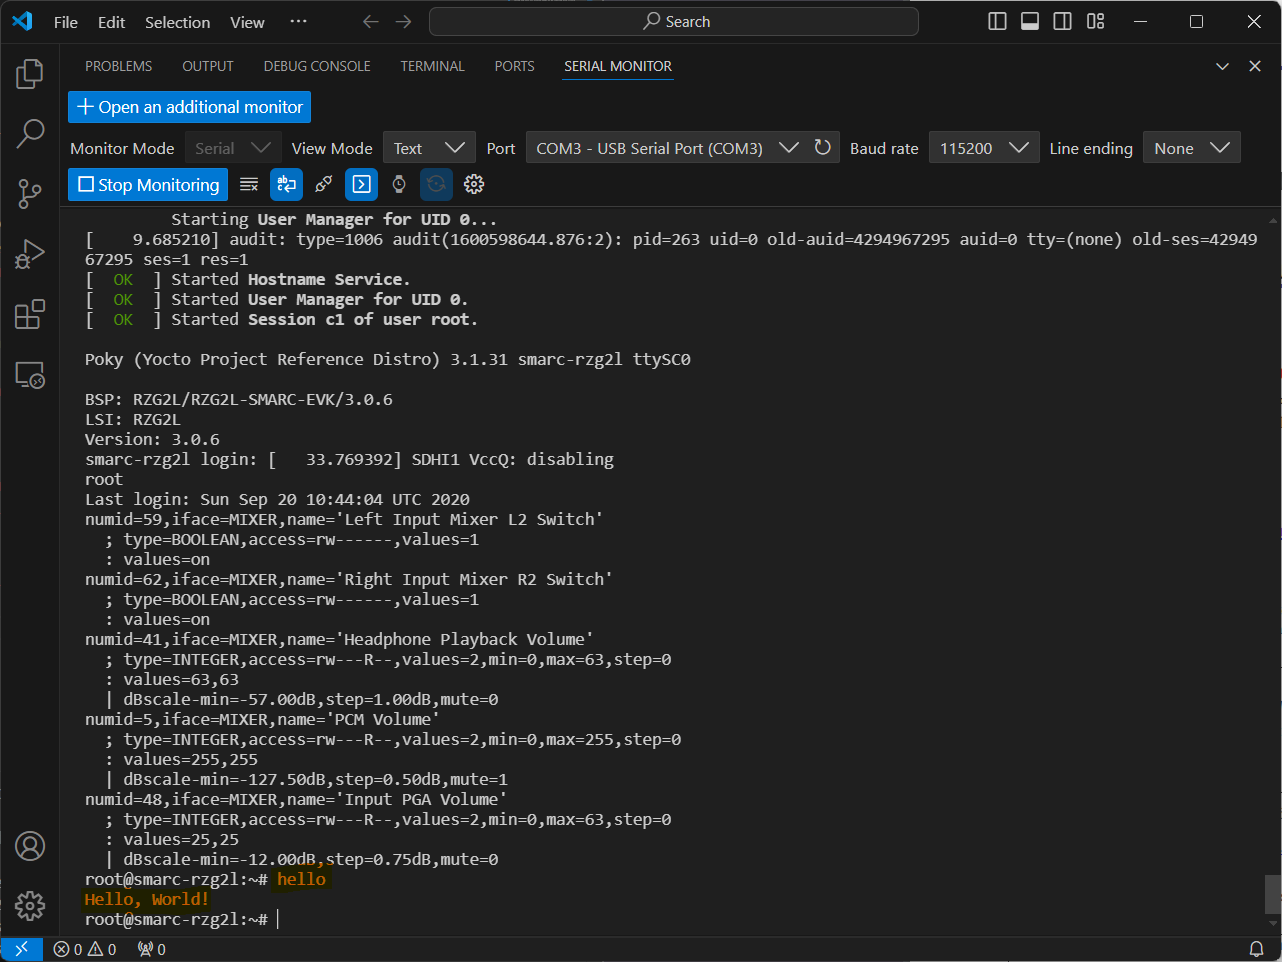
In your serial monitor, type in the name of the program and hit Enter.
Follow the previous guide to learn how to flash an image to SD card and boot up from it.
Your program will be executed and these are the results:
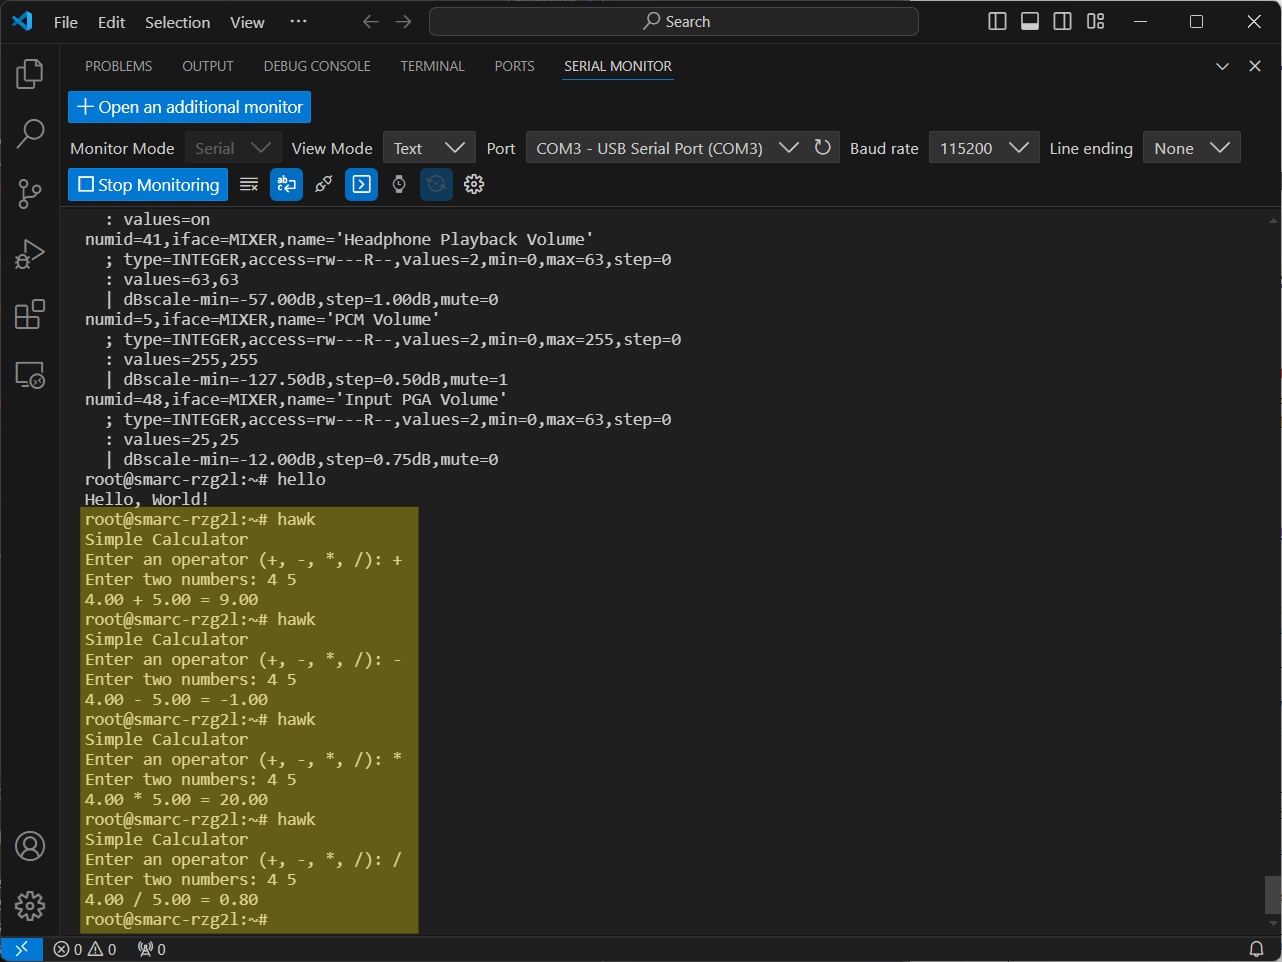
You may also try out different programs, such as a simple calculator: