1-6 Installation of Docusaurus and Source Control Using Git
In this tutorial, we will install Docusaurus in a Dev Container and perform source control using Git and GitHub.
Requirements
Before starting, ensure you have the following installed and set up:
- Git: Install Git for source control.
- GitHub Account: Create an account on GitHub if you don’t already have one.
- Node.js: Ensure Node.js is installed. You can download it from nodejs.org.
Docusaurus Guide
Step 1: Install Docusaurus
Inside the container's terminal in VS Code, navigate to your project folder. Install Docusaurus by running the following commands:
npx create-docusaurus@latest my-website classic
When prompted to select a language, choose JavaScript.
Step 2: Start the Docusaurus Development Server
Then, go to my-website and start the server.
cd my-website
npm run start
Open your browser and navigate to http://localhost:3000 to see your Docusaurus site in action.
Step 3: Start Editing!
In Docusaurus, Markdown is used for creating documentation and content. It is a lightweight markup language used for creating formatted text using plain text. Markdown files typically have the .md extension. Start editing those and create your own documentation or notes.
After editing, you will need to build the website again into a directory of static contents to view the changes. To build and serve the website:
npm run build
npm run serve
For more information, visit here to get started learning Markdown.
Git Source Control Guide
Git source control is a version control system that tracks changes in files and enables collaborative software development. It allows developers to manage their codebase efficiently by creating snapshots (commits) of their work, which can be reverted or reviewed at any time.
Step 1: Ensure Git is Installed
Verify whether or not Git has been installed on your system by running:
git --version
If not, install by running:
sudo apt install git
Run git --version again to ensure that Git has been installed.
Step 2: Configure GitHub
Set your username:
git config --global user.name "Your Name"
Set your email:
git config --global user.email "youremail@example.com"
Confirm the configuration:
git config --list
If the configuration is successful, your username and email will be shown.
Step 3: Initialize the Repository
Open your project folder in VS Code and initialize Git:
git init
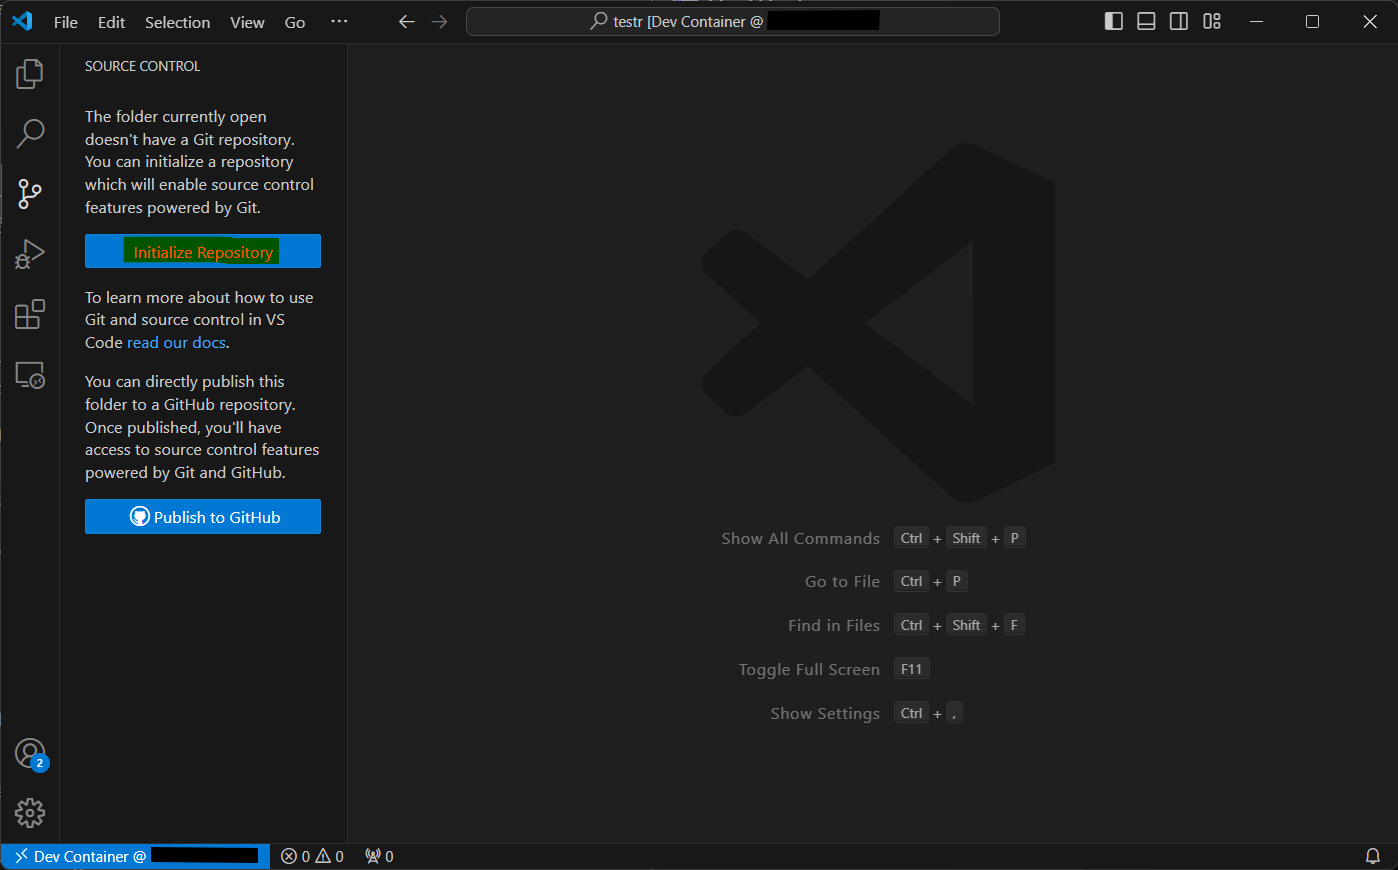
Alternatively, you can also select "Source Control" at the side panel and click "Initialize Repository".
Step 4: Stage and Commit Changes
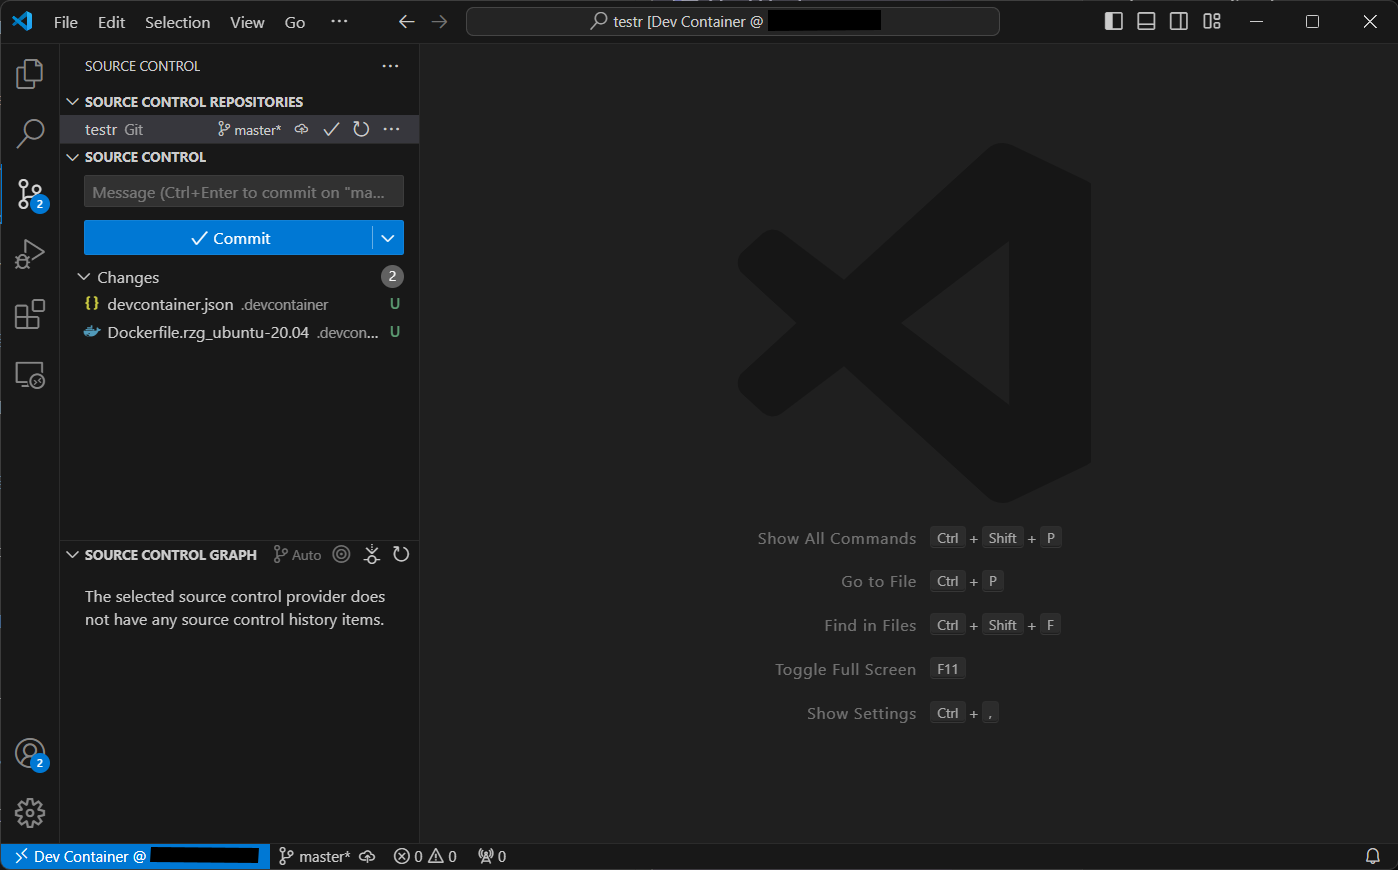
After the initialization, you may start editing your contents. Then, stage and commit your changes in "Source Control".
Step 5: Publish to GitHub
Next, select "Publish Branch" and depending on your preference, publish privately or publicly.
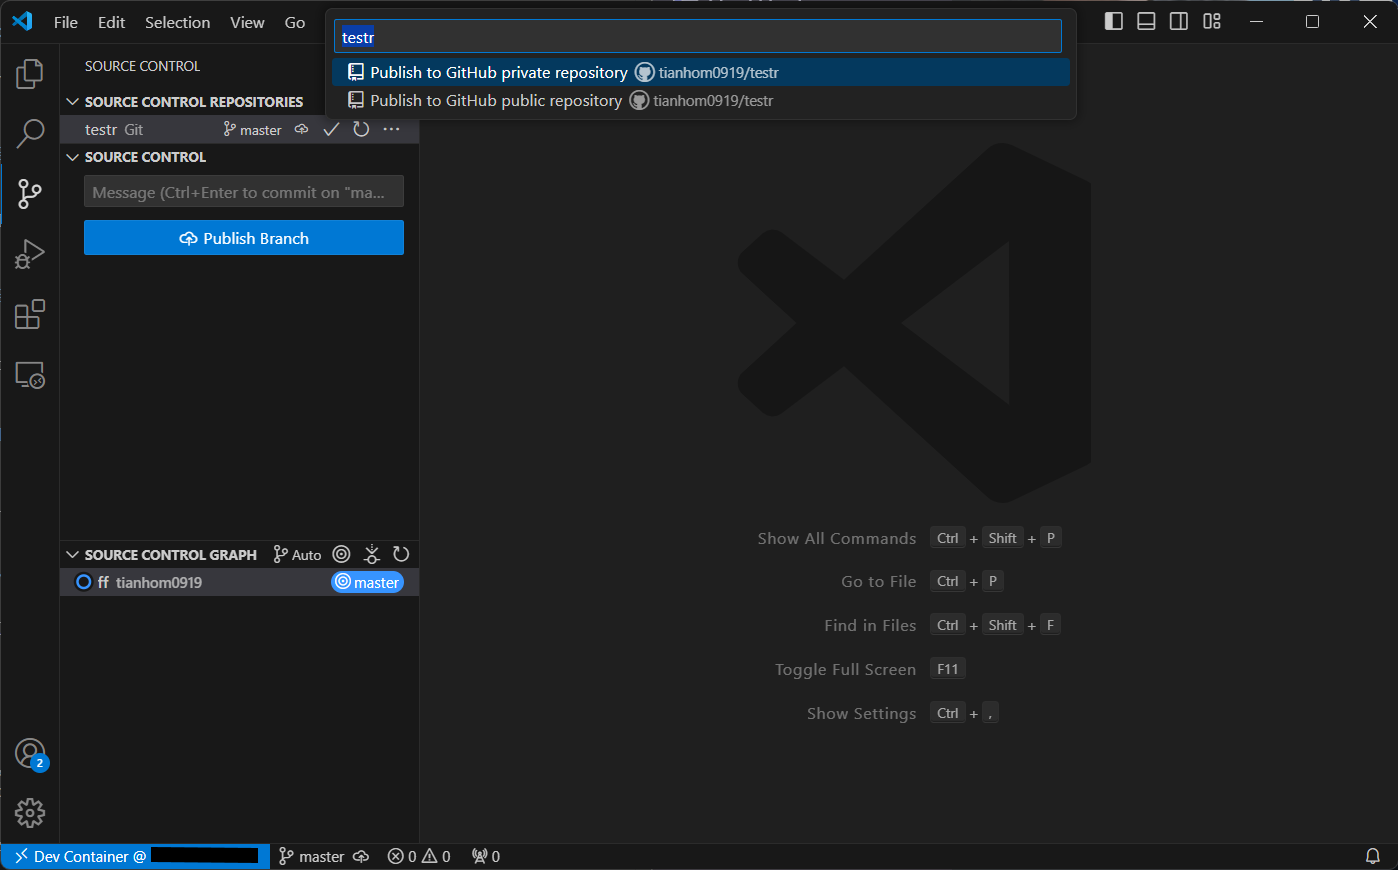
Now, you will be able to see your files on your GitHub repository.
References
-
For more information on source control: Using Git source control in VS Code
-
Install Docusaurus