1-5 Creating Docker Containers
In this tutorial, we will learn how to create Dev Containers in VS Code.
Prerequisites
Before proceeding, ensure you have the following installed on your system:
-
Visual Studio Code (VS Code)
Download here. -
Remote Development & Dev Containers Extension
Install the Remote Development & Dev Containers extension in VS Code from the Extensions Marketplace.
Step 1: Create A Folder for Your Project
Once you have established an SSH connection with your Linux host in VS Code, open up the terminal by Use the code below to create a directory for your dev container:
mkdir my-dev-container
cd my-dev-container
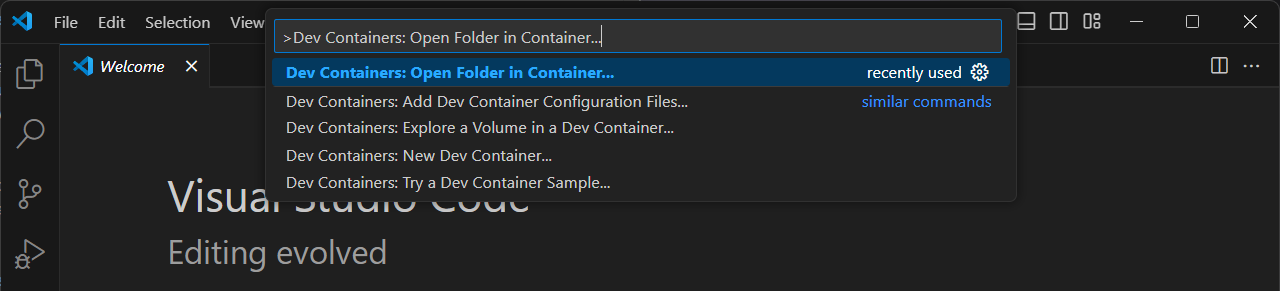
Step 2: Open Folder In Container
In VS Code, hit Ctrl + Shift + P to open up the Command Palette. Insert "Dev Containers: Open Folder in Container..." and hit Enter.
You will be prompted to select a folder to open the container. Select the folder you have just created: my-dev-container.
Step 3: Configure Docker Container
Now, you will need to configure your Docker Container, select Add configuration to workspace > "Node.js & JavaScript" > "20-bookworm" and click "OK".
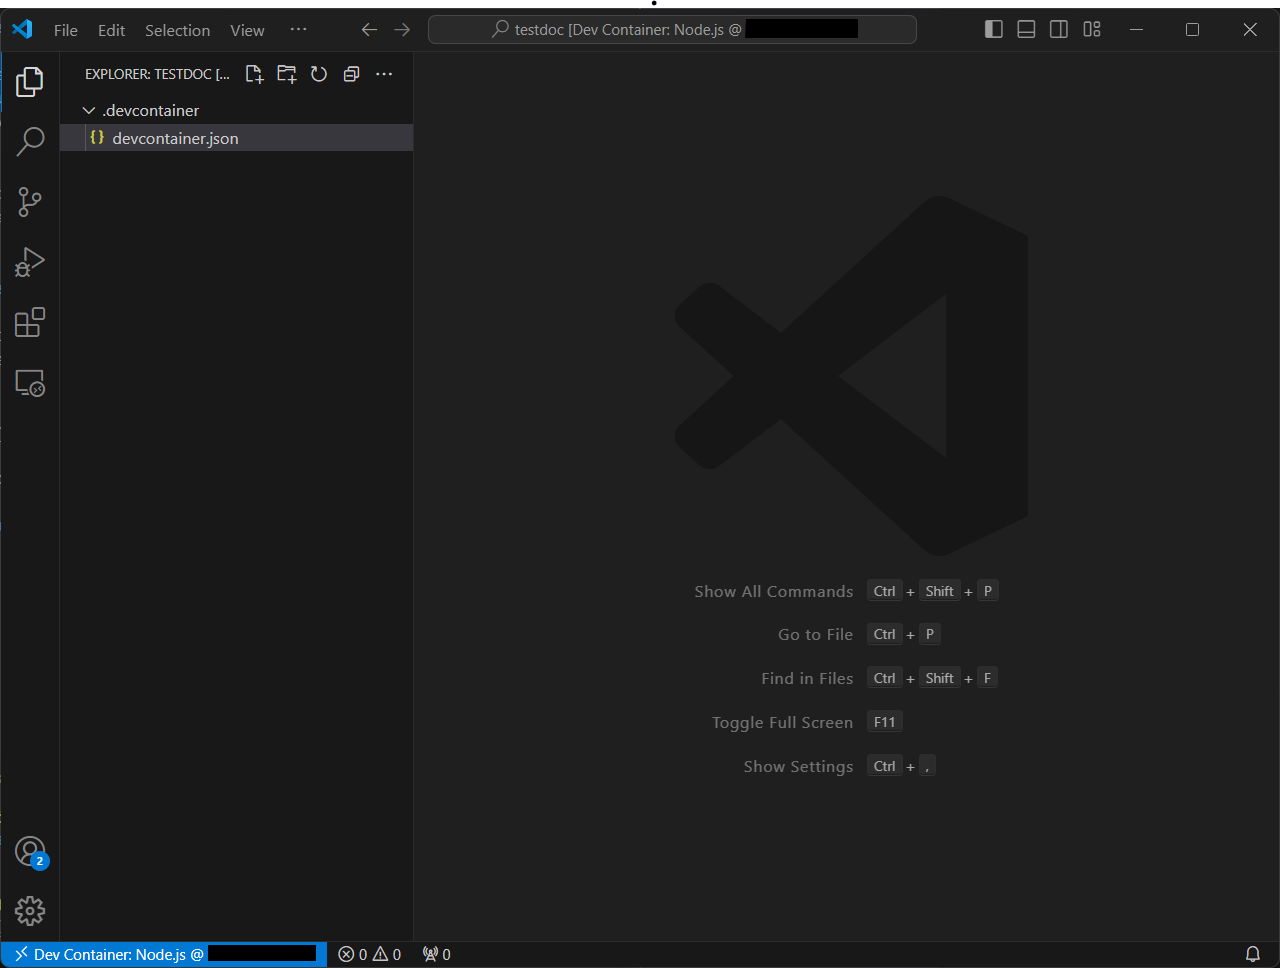
And thats it! You have successfully created a Dev Container. Now, you can start developing inside this isolated environment with all the neccessary tools and dependencies.
To build a Docker container with all the dependencies needed for development, add the Dockerfile into the .devcontainer directory and select Rebuild Container.