6️⃣ Code App for Docusaurus Documentation
iPadOS hasn’t historically been ideal for code development, as it doesn’t natively support robust editors like Visual Studio Code. However, there’s good news for developers who want to code on the go! A fantastic alternative called Code App, developed by thebaselab, is available on the App Store.
Code App brings a desktop-class coding experience to your iPad with powerful features that make it perfect for building and maintaining projects. These features include:
- Robust Text Editor powered by the Monaco Editor from VS Code
- First class local file system support
- Extensive local language support
- SSH/FTP remote connection support
- Git Version Control
- Package manager support (
pipandnpm) - Markdown, themes, server-side snippet execution and more
Setting Up Git Version Control
One of the very useful feature of the Code App is Git Version Control, which allows management of your code. To set it up, follow these steps below:
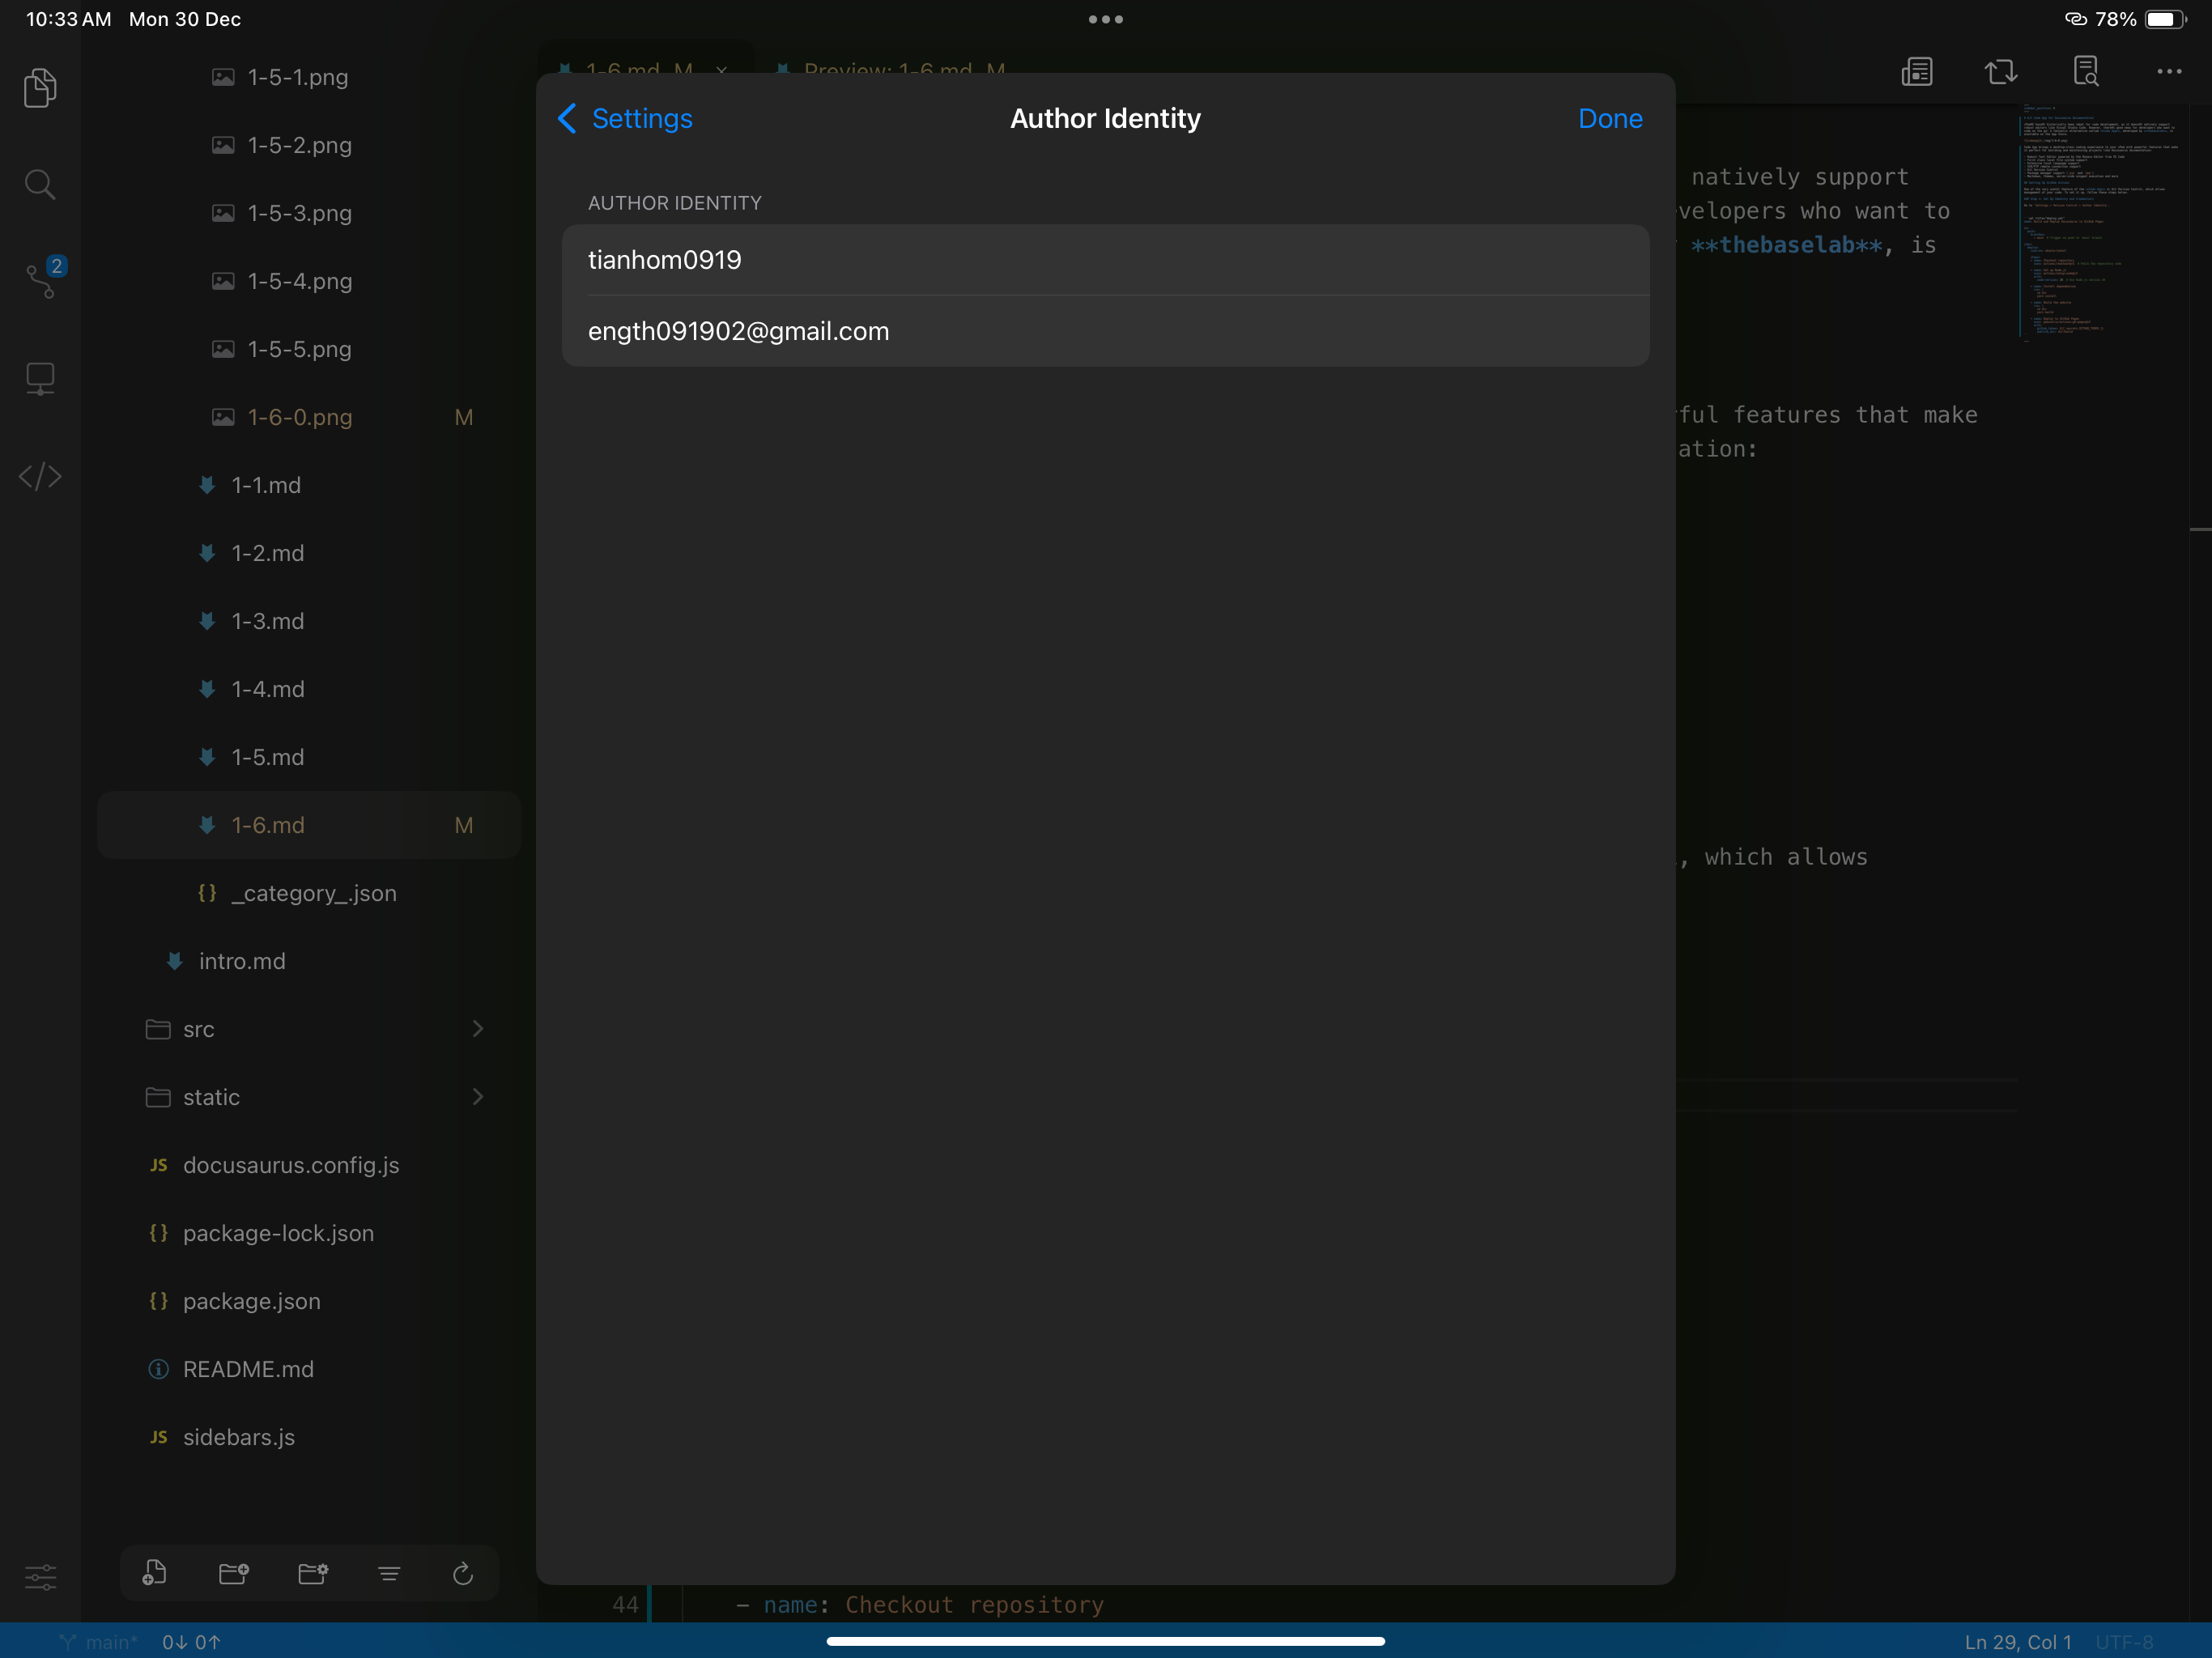
Step 1: Set Up Identity and Credentials
Go to Settings > Version Control > Author Identity, and enter your GitHub user name and email.
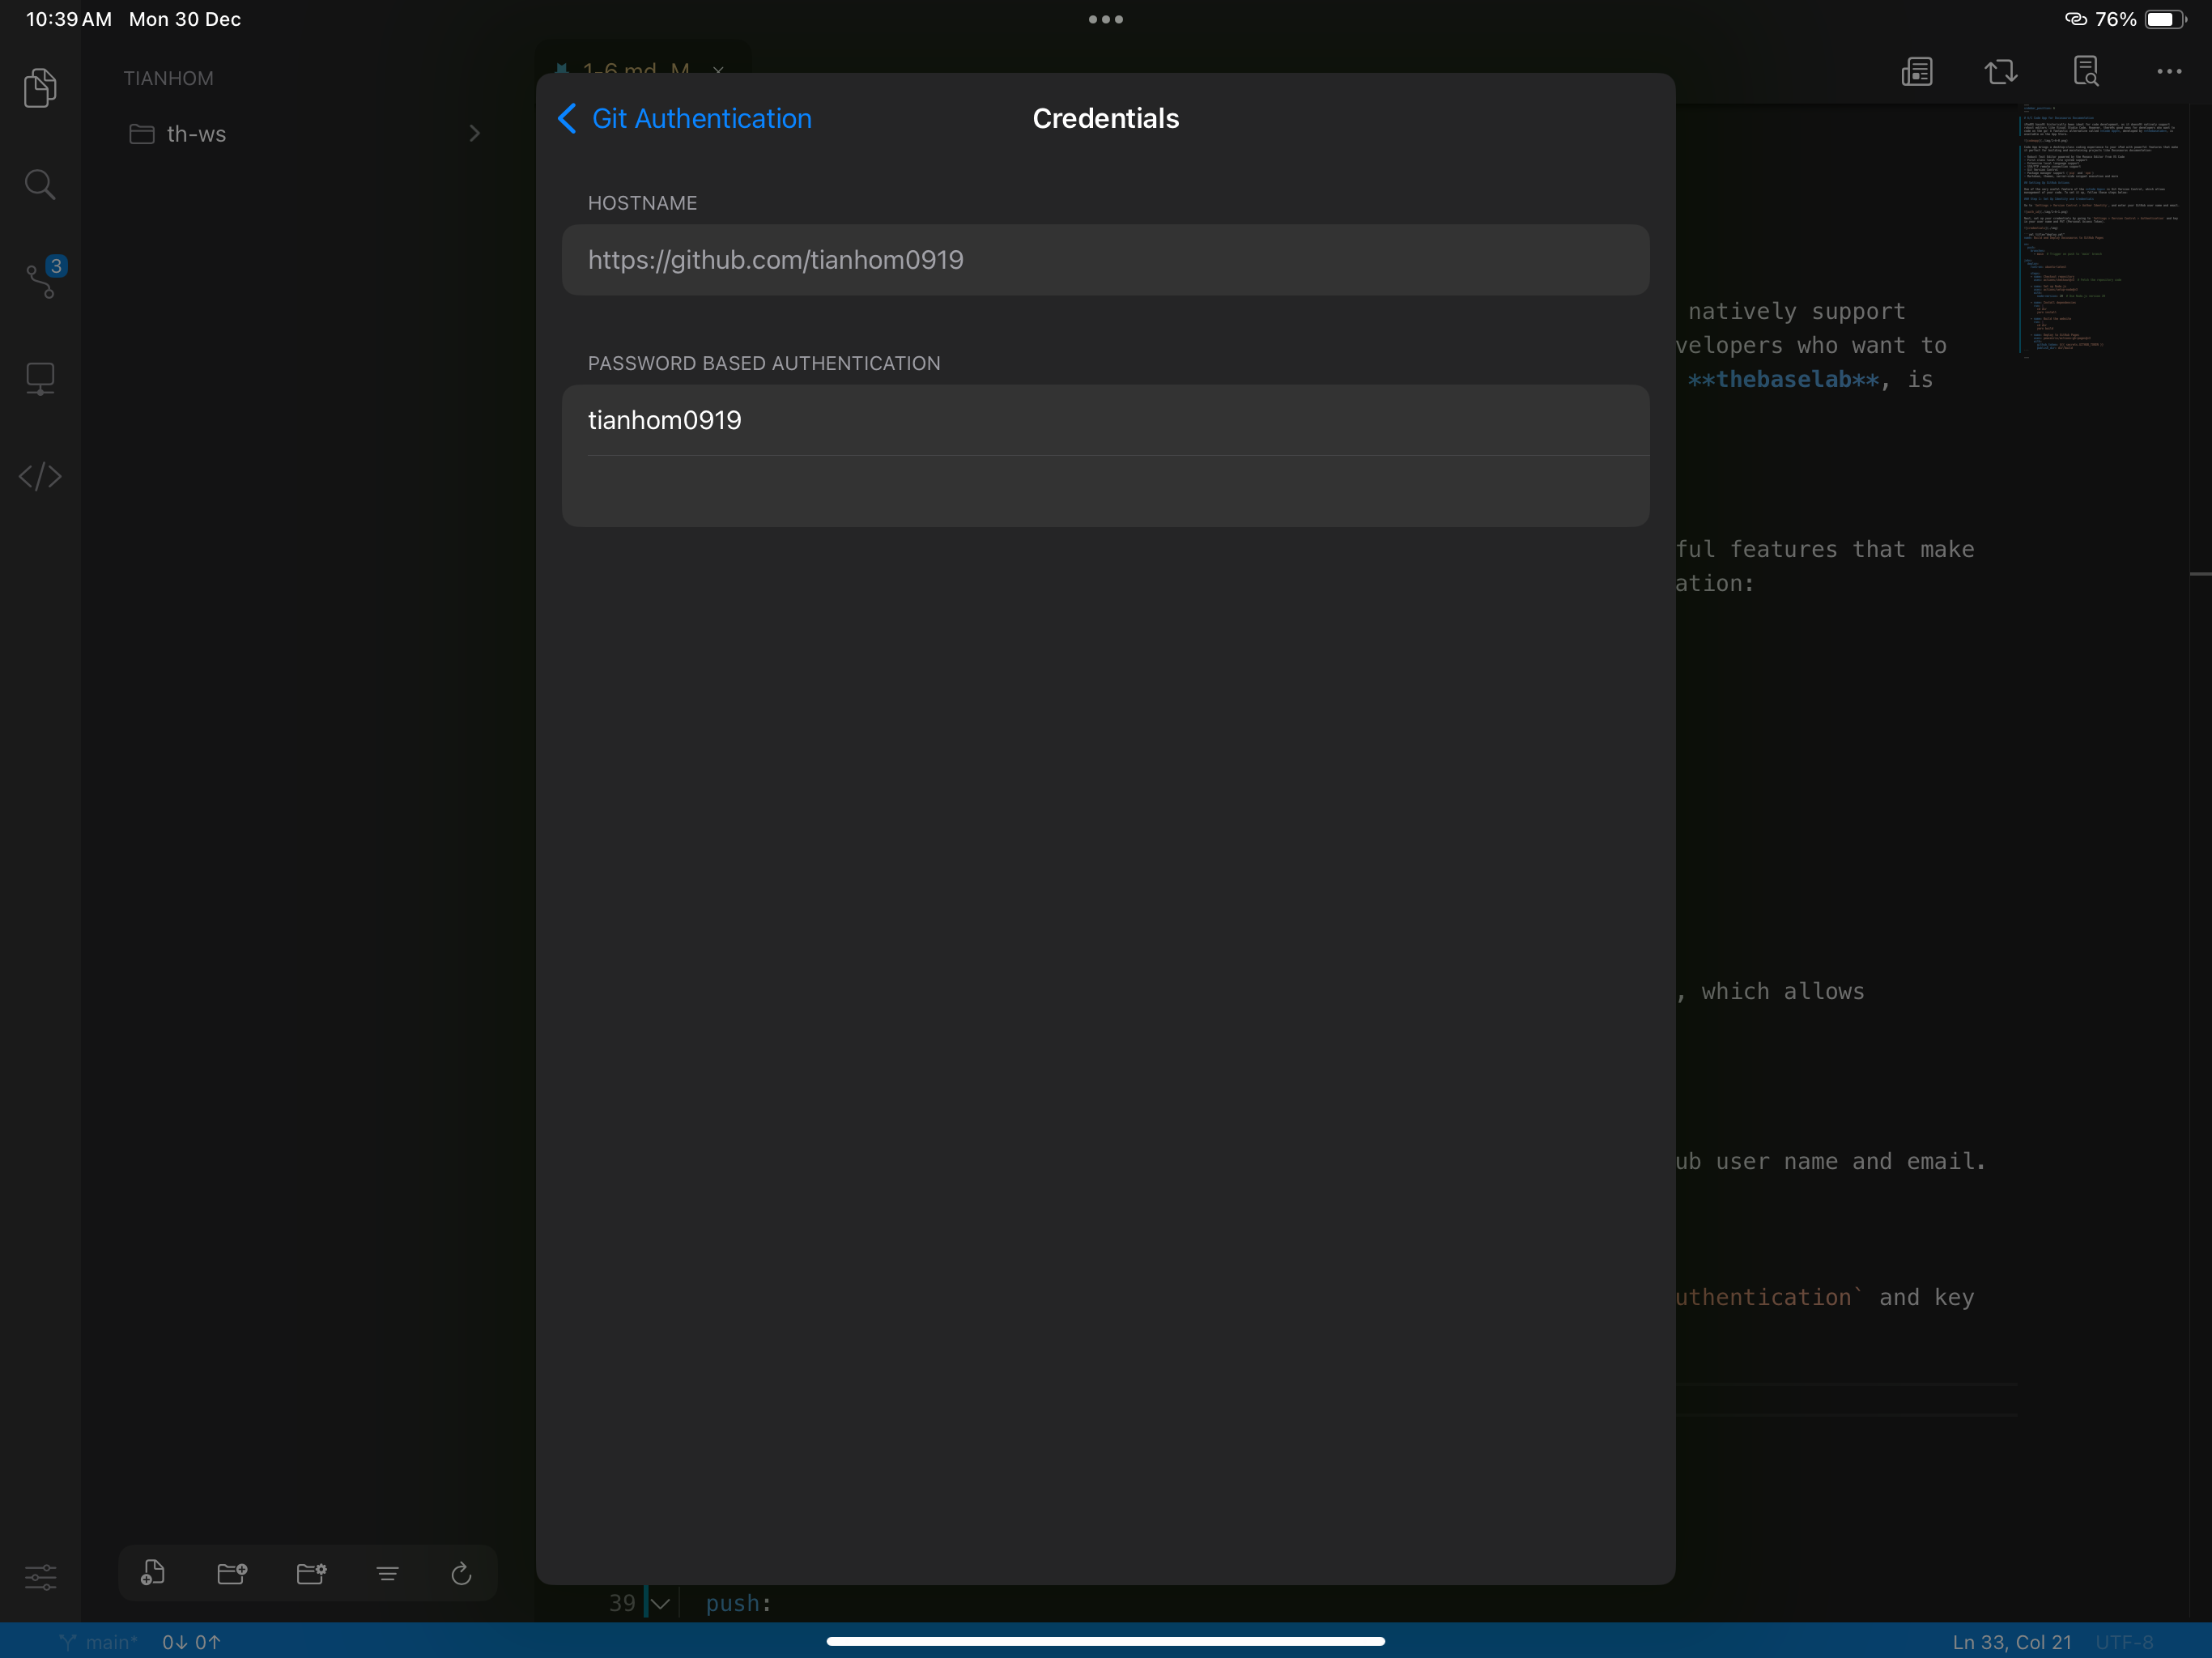
Next, set up your credentials by going to Settings > Version Control > Authentication and key in your user name and PAT (Personal Access Token). If you don't have a PAT created, please click here to learn how to create one.
Step 2: Cloning a repository
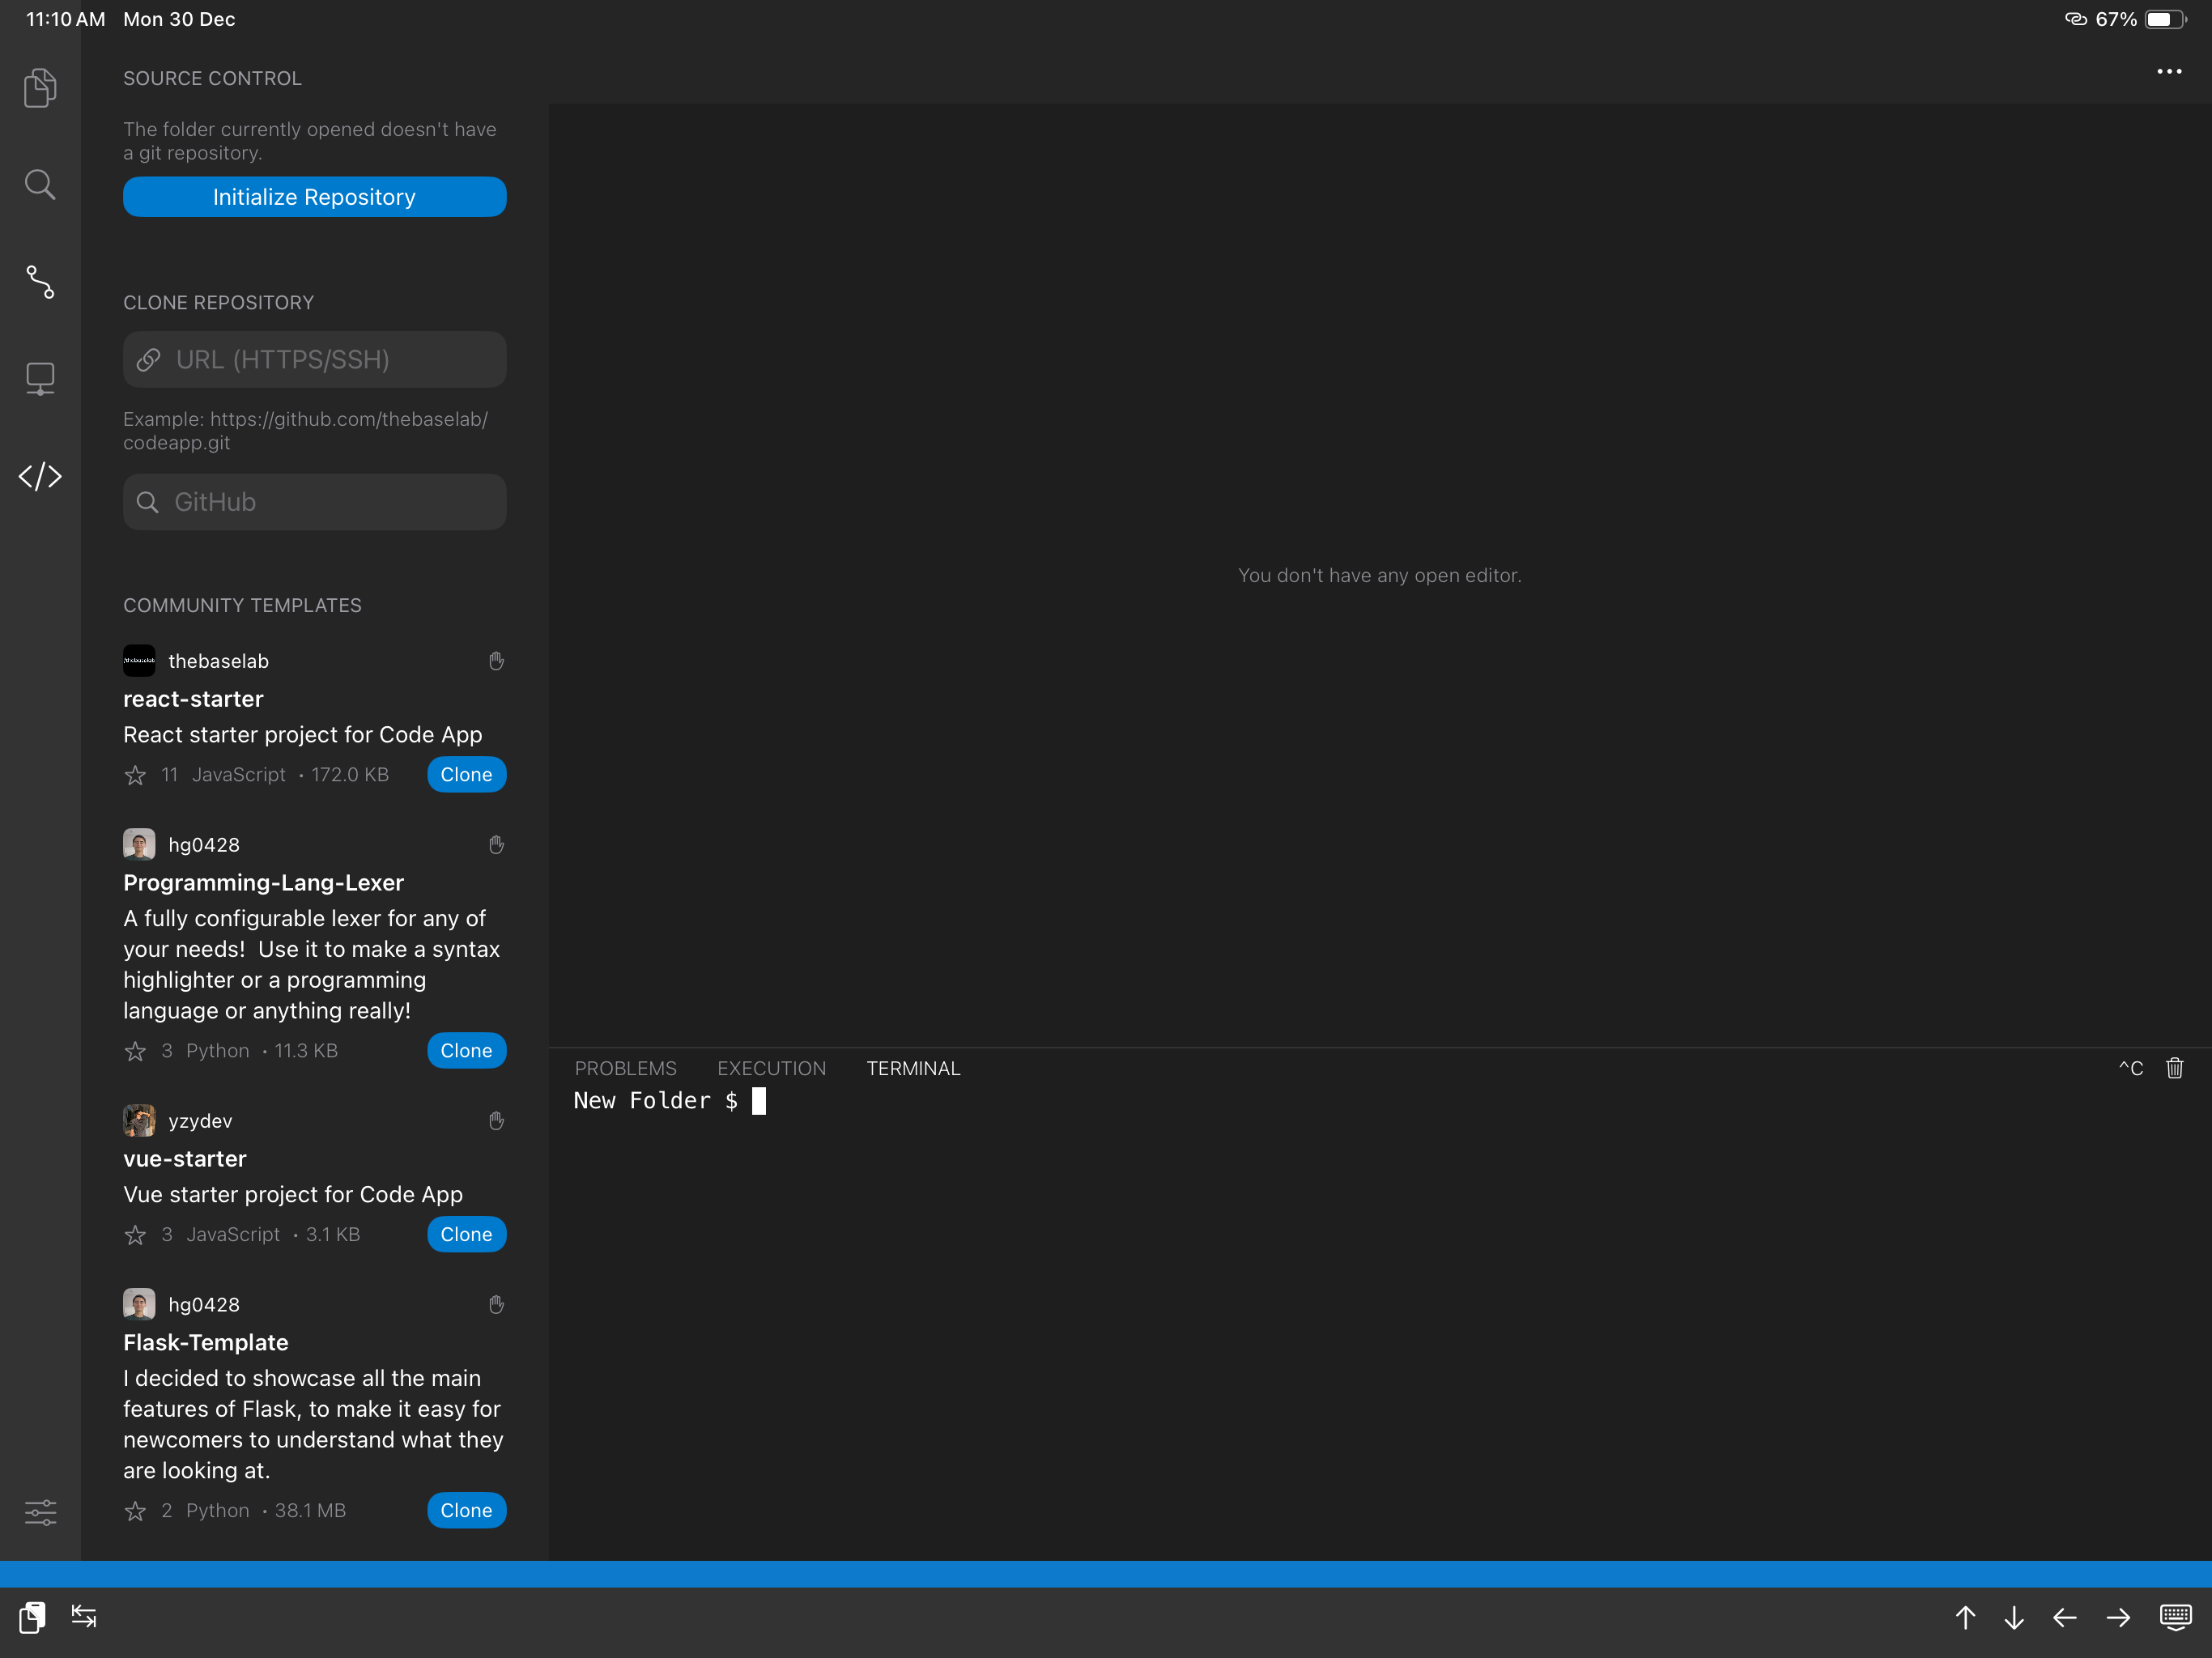
To clone a repository, click the source control icon located in the sidebar and enter the url to the repository under CLONE REPOSITORY.
How to clone another repository?
You'll have to set the editor's root folder to another directory. To do this, click the icon of the folder with a gear and select another folder.

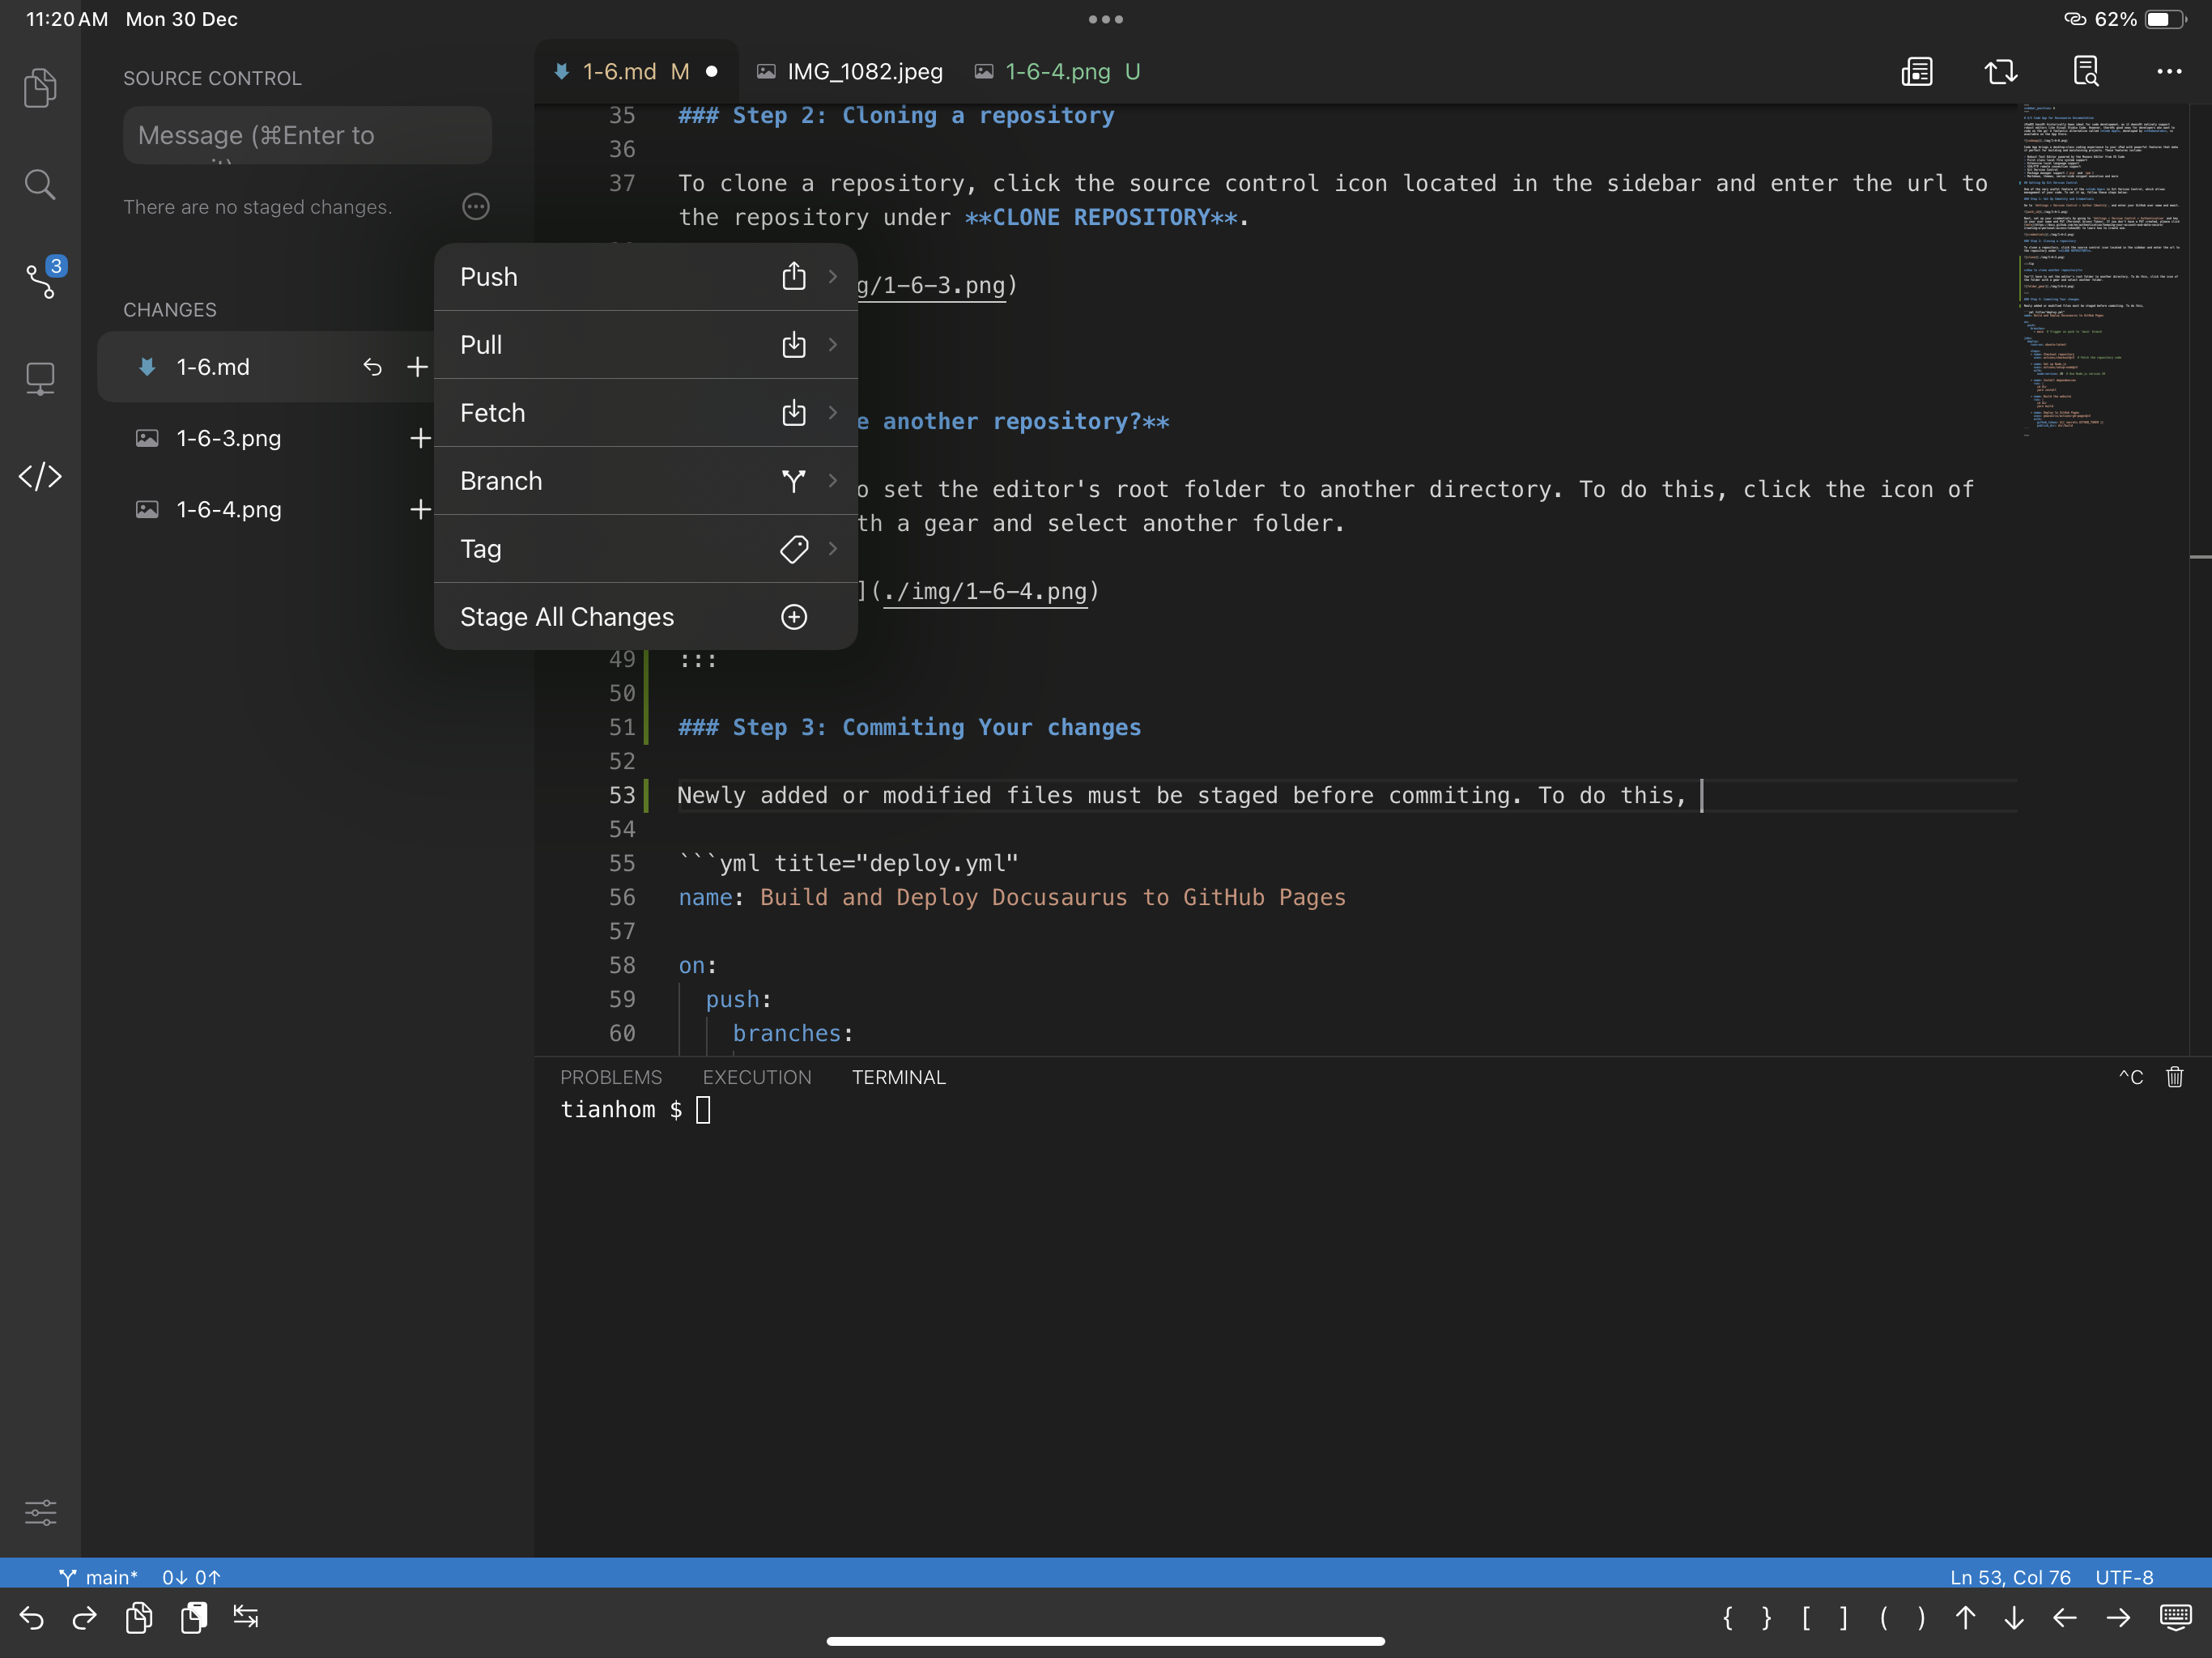
Step 3: Commiting Your changes
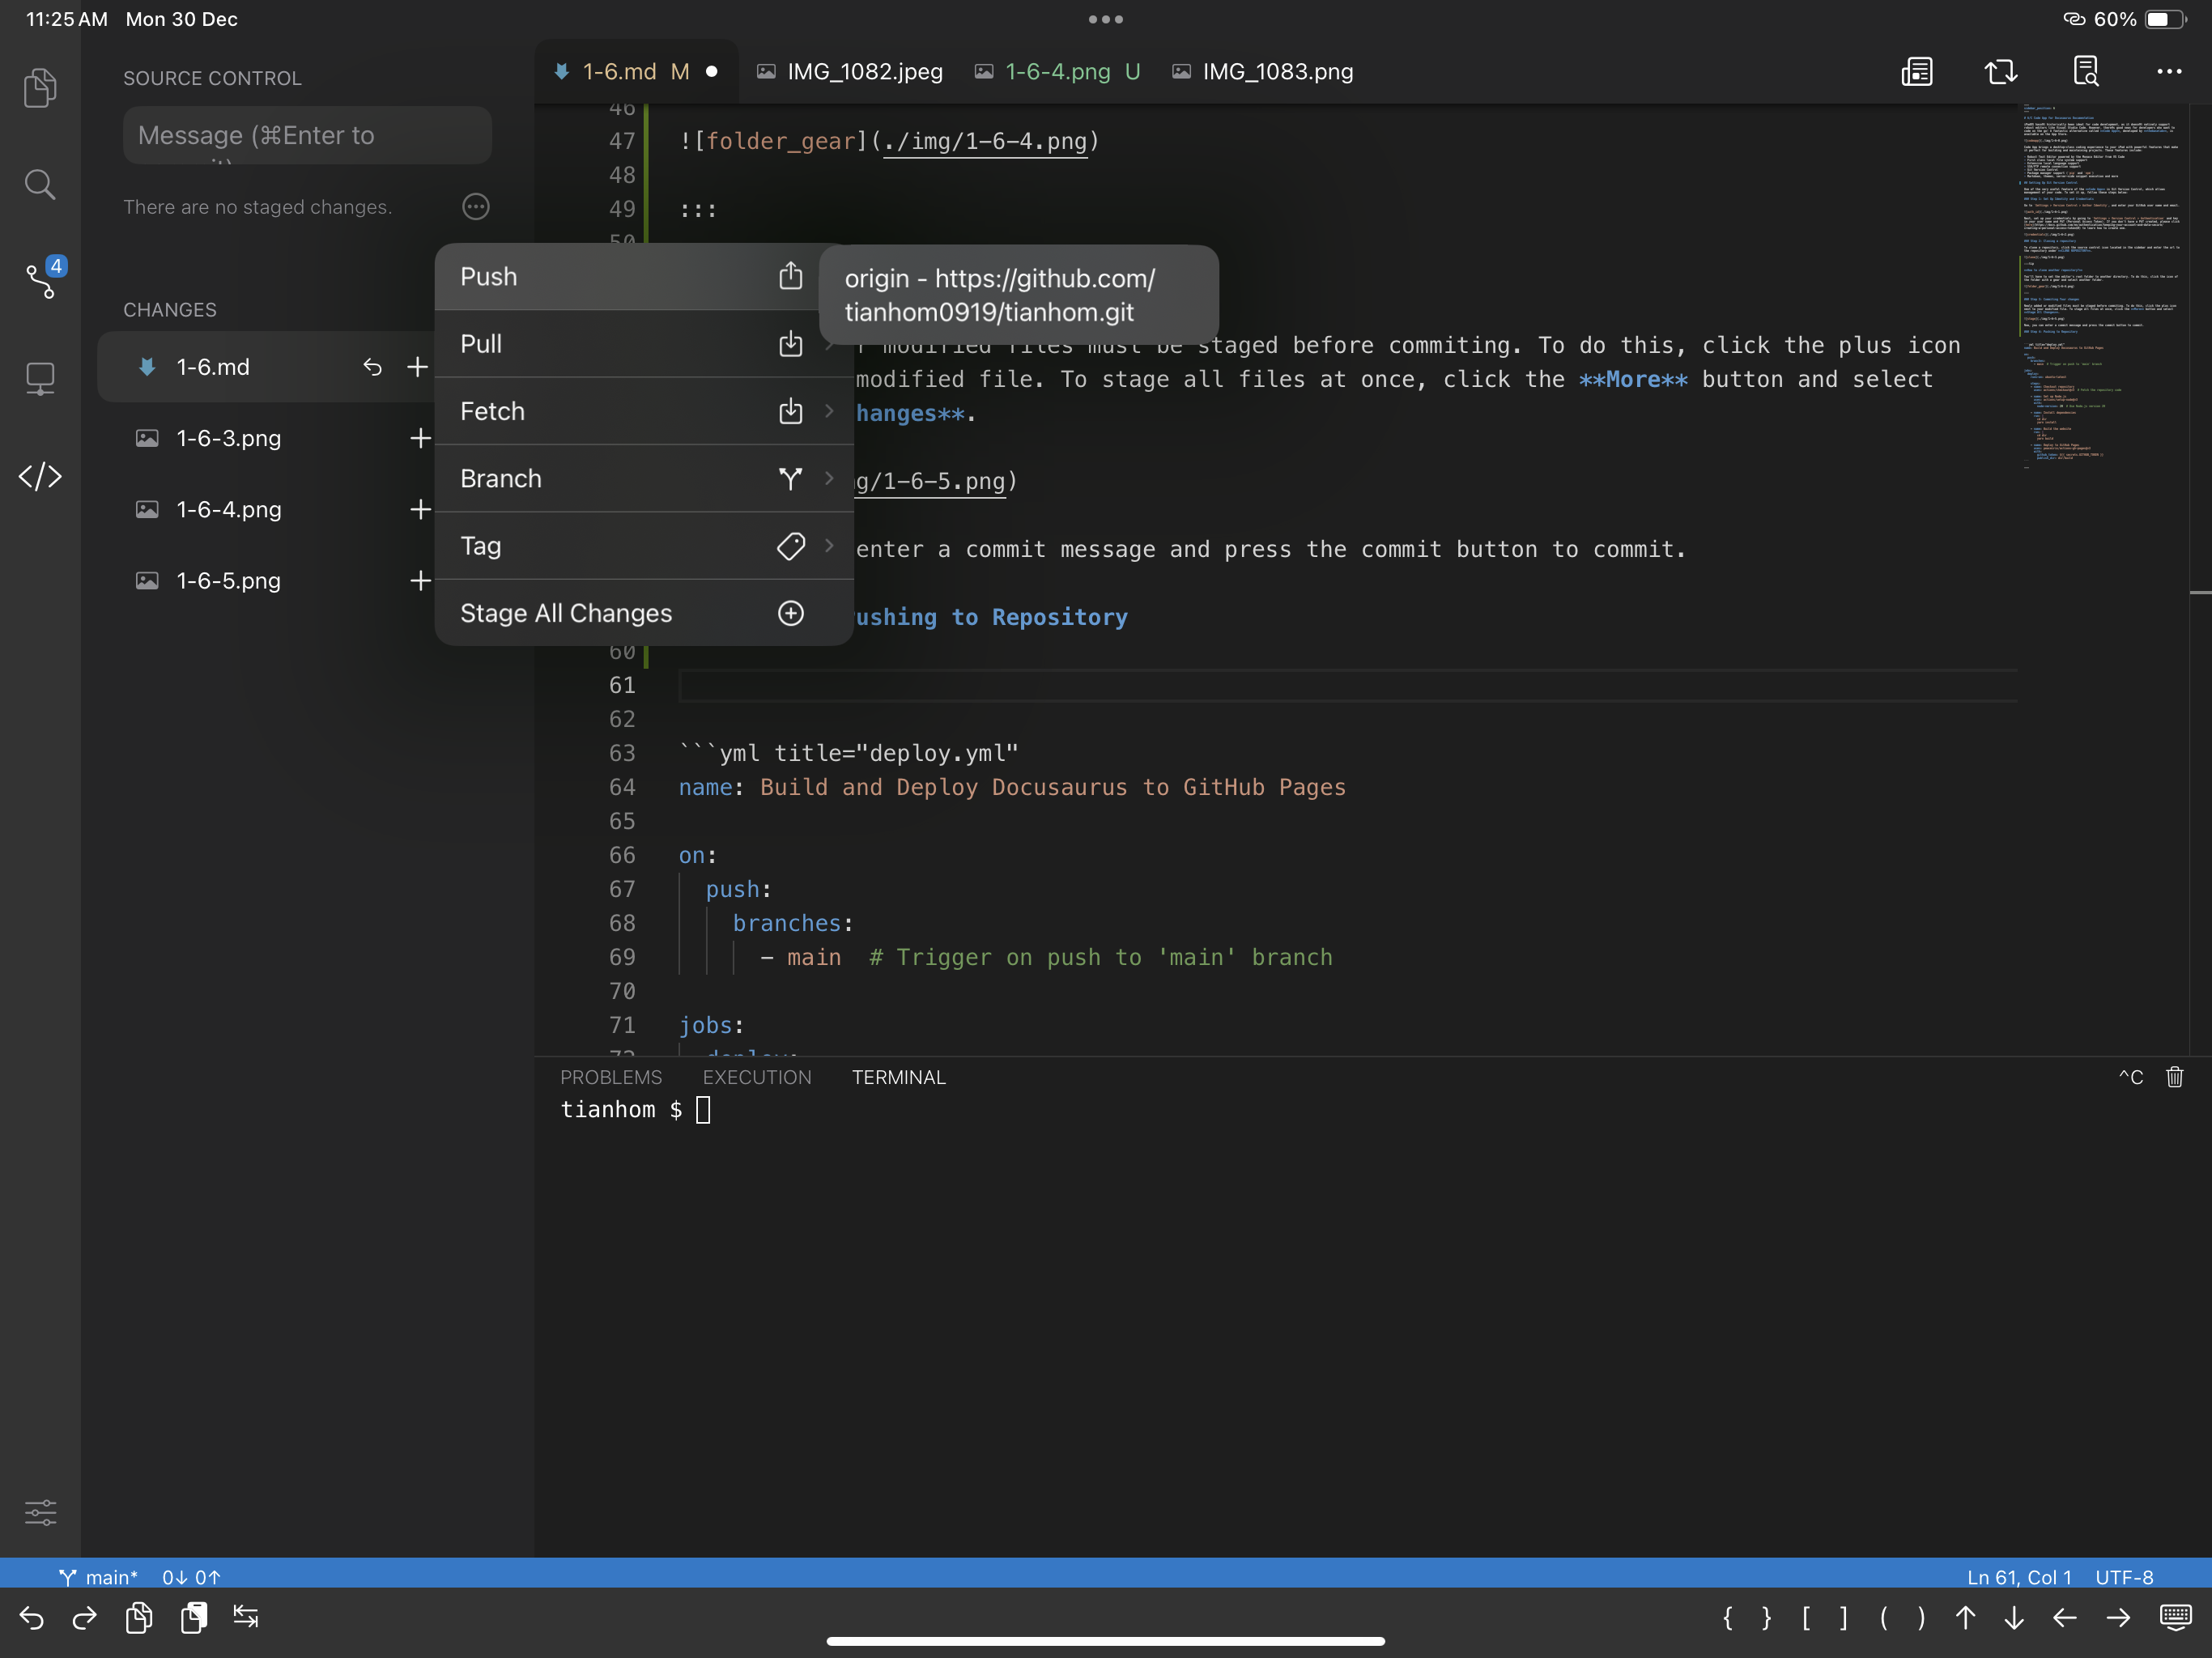
Newly added or modified files must be staged before commiting. To do this, click the plus icon next to your modified file. To stage all files at once, click the More button and select Stage All Changes.
Now, you can enter a commit message and press the commit button to commit.
Step 4: Pushing to Repository
You may push your changes to GitHub after commiting.
Setting Up GitHub Actions for Auto Deployment
You can set up a GitHub Action to automate the deployment of your Docusaurus website. In your repo, go to the Actions tab and create a new workflow. Create a file at .github/workflows/deploy.yml in your repo with the following content.
name: Build and Deploy Docusaurus to GitHub Pages

on:
  push:
    branches:
      - main  # Trigger on push to 'main' branch

jobs:
  deploy:
    runs-on: ubuntu-latest

    steps:
    - name: Checkout repository
      uses: actions/checkout@v3  # Fetch the repository code

    - name: Set up Node.js
      uses: actions/setup-node@v3
      with:
        node-version: 20  # Use Node.js version 20

    - name: Install dependencies
      run: |
        cd dir
        yarn install

    - name: Build the website
      run: |
        cd dir
        yarn build

    - name: Deploy to GitHub Pages
      uses: peaceiris/actions-gh-pages@v3
      with:
        github_token: ${{ secrets.GITHUB_TOKEN }}
        publish_dir: dir/build
Save the file and commit it, GitHub will automatically detect the new workflow file. Now, every time you push changes to the main branch, your site will be built and the static files will be deployed to gh-pages.